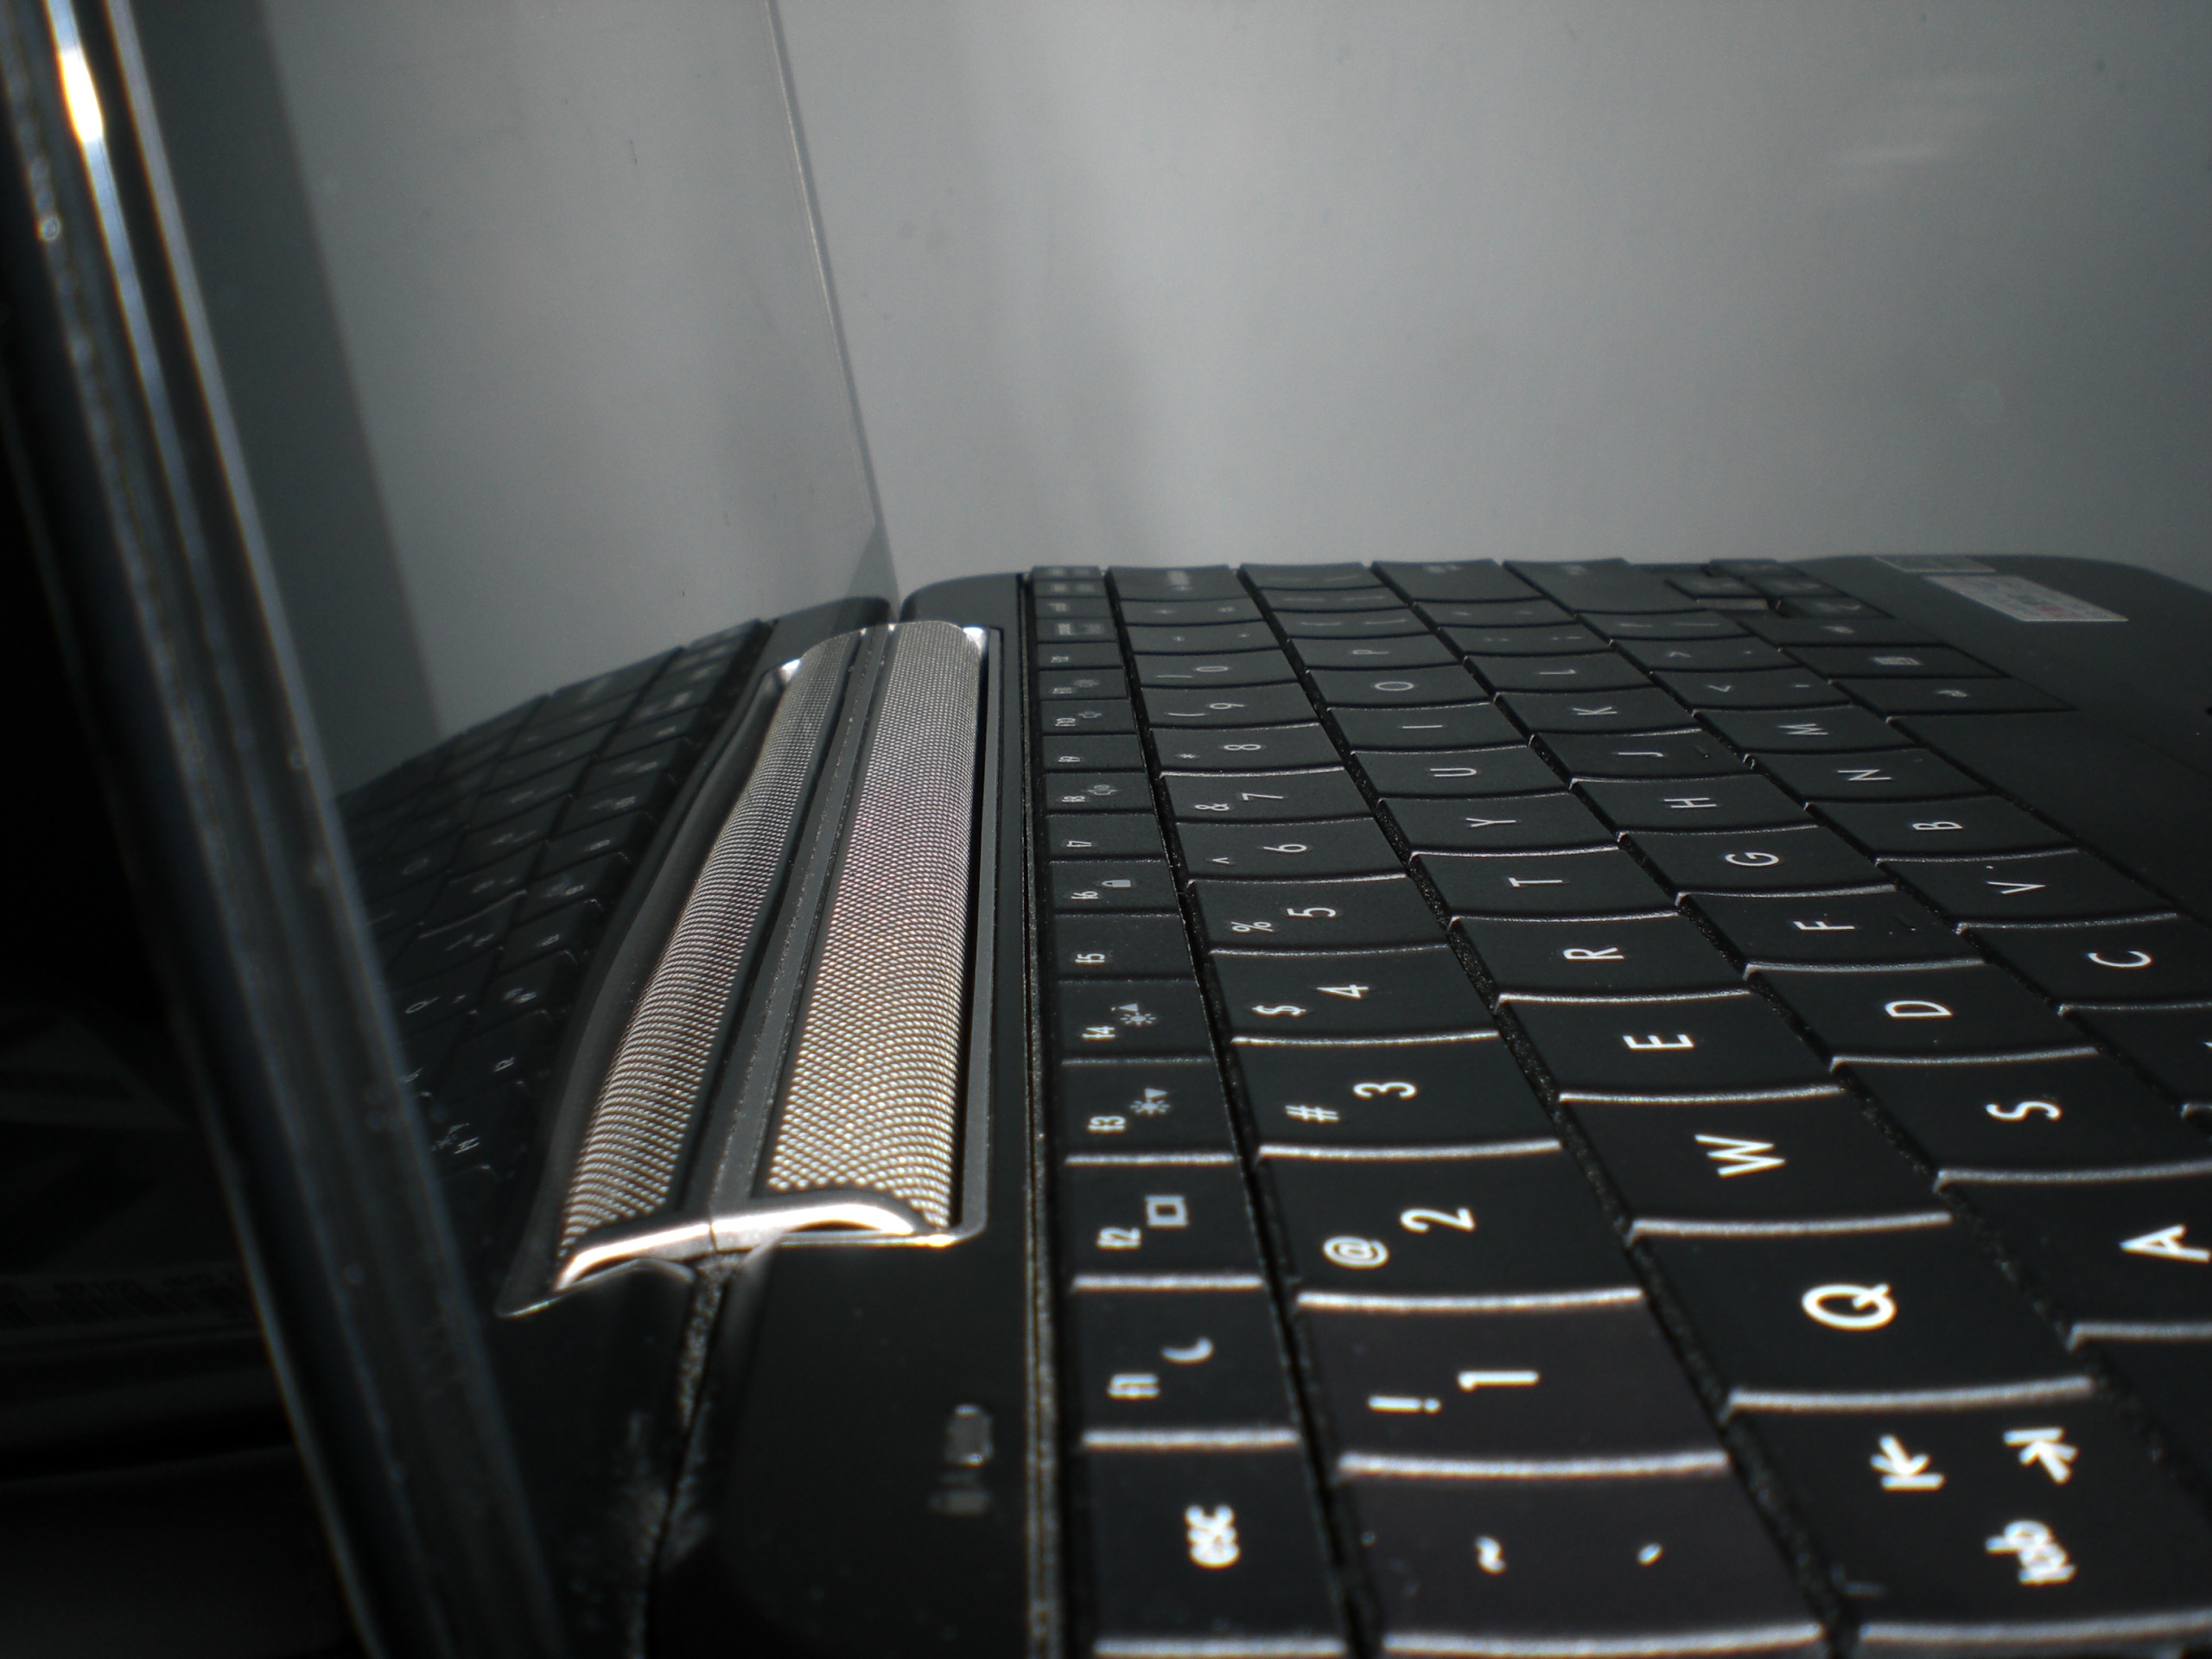
30 May 2010

CHUD, Kernel Panics, WiFi, Living with the HP Mini 1001TU hackintosh

Yep, my Mini 311 is still with *******, the local store I bought it from and is still, I hope, getting fixed.

I'm using the HP Mini 1001TU as my main machine for portable computing. I had tried to run 10.6.3 on it but the lack of sleep functionality with my own personal brewed DSDT.aml and lack of time and drive to figure it out has made me decide to revert to 10.6.2. - wipe-out, reinstall route.

HP Mini 1000 10.6.2 Auto EFI

But the hackintoshing lessons don't stop pouring in even when I'm making do with an aging netbook and déphasé 10.6.2. For one, I noticed that CHUD kexts don't go well with VoodooHDA.
I'd get Kernel Panics at boot up. It's because those additional kexts gets included in the mkext. I haven't dared to venture with Mkext Tool created kextcache for Extra folder but I think that should work as well. What I do is make sure I've got everything exactly the way I want - 10.6.2 update - create my Extensions.mkext from /Extra/Extensions and /System/Library/ and then just install XCode/Mac OS X Developer afterwards and not rebuild my mkext anymore.

This one I learned actually from the HP Mini 311 but I'm incorporating it in my Mini 1001TU policy, The Broadcom wireless module that comes with the HP Mini 1001TU by default supports True Power Off feature. I can never speak for real Macs but I think this is related to the "softswitch" strategy that HP implements on its machines to manage PCI cards does not exist in real Macs. I've experienced my WiFi cards suddenly turned off on my Mini 311 and it can only be turned back on when booted in Windows or Linux. Taping PIN20 has been one suggestion - I've gotten mixed results with that. But one thing I do is make sure that TruePowerOff is enabled:
So far, so good.

28 May 2010

OLPC XO3

That is one anorexic tablet!

So let me vent out my frustration from calling the local store where I brought my bricked Mini 311 for repair - I had called them yesterday and been told they would call me this morning. They didn't and so I called them and was told again that they would call me for an update. It's two and a half weeks, close to the three weeks max they originally had estimated to get the machine fixed.

So let's ogle at the OLPC XO3 in the mean time and let its "green-ness" relieve the stress from crappy customer service.
from endgadget.com
It's not as if I'm pressing them to fix the unit fast - I just want know how things are doing.

26 May 2010

Google Chrome For Mac Is Here Again!

I was sipping my morning coffee (latte with no sugar) in my cube at the office, reading my daily round up of blogs/websites that are, you guessed it right, Mac-centric when I came across a post from Cult Of Mac.

Our favorite browser is finally out of beta stage for the Mac platform and you can get the stable version from the Google Chrome site.

Actually, I've been using Chrome since December last year as a beta release and I must say it has been able to deliver well that I only launch Safari now when my Mac loyal conscience gets the better of me with guilty prodding. ;-)

Isn't Google Chrome the most important invention after the wheel? :-P

25 May 2010

Back In My Mini 1001TU's Arms

It's been exactly 16 days since that fateful night that my Mini 311 got bricked. And that's also how long I've been living with my Mini 1001TU for survival. Imagine how pitiful I could've been without a laptop of my own!

Ok, the HP Mini 311 is still a netbook technically and so is the Mini 1001TU. But the last "real" laptop I had was an 12" IBM Thinkpad A21e:

Obviously, the image above is not an actual picture of the machine I owned (credits to netlabs.net). True, I was madly in love with that Thinkpad as it was the first laptop I bought with my own money (about the same amount I paid for my MSI Wind back then) but its charms weren't quite enough to send me into shutterbug fits like my dear netbooks did. Actually, the habit started with the Mini 1001TU which remains a gorgeous piece of gadgetry to this day in my own opinion. 
And by the way, my A21e had a 700MHz Celeron CPU, 12" LCD screen, 20 GB hard drive, and 256MB SD-RAM.

The point is, judging from my computing habits and from my portable computer history, my requirements are pretty basic. In fact, my EeePC 701 which now belongs to my cousin, with its 900MHz CPU can still fill my plate quite adequately in terms of performance. I can hardly imagine why 900MHz would choke up on blogger.com anyway. In fact, if not for the agonizingly minuscule screen and keyboard of that very first netbook, we would still be together now. Since then I've progressed gradually to an 8.9 incher in the form of the EeePC 900, next to 10 inchers like the MSI Wind and then HP Mini 1001TU. My first HP Mini hit the sweet spot for me in terms of keyboard typing experience but I still got the Mini 311 for the larger screen mainly - Ion and Atom N280 were merely icing on top of the cake.

A large keyboard and a comfortable 11.6" LCD screen with 1366x768 resolution in a package less than 1.5 kg spell nirvana for me.

Thinking back to the days gone by with the Thinkpad A21e and comparing the experience with my 10" netbooks, I've come to realize that it's actually the vertical screen real estate that breaks and makes the deal for me; I was content with the A21e because it had 768 vertical pixels. 1024 pixels horizontal is fine by me but not that "600" part of the equation. Sends shivers up my spine.

And then I am suddenly forced to go back to the quagmires of 1024x600.

On to the meatier OSx86 related stuff. It turns out I'm not the only one who's unhappy with the 600 vertical pixels - Mac OS X doesn't really dig that resolution config as proven by windows cutting past below the dock (already set to auto hide, mind you). And one particular app that just stands out in its obvious disgust of that shortage in vertical pixel real estate is (drum roll please):

GarageBand '09
I posted about this problem before and in the end, was just resigned to reverting to GarageBand '08 which though still didn't quite dig the 600 vertical pixels, allowed me to move its window around the screen, similar to "panning" movement and thus gain access to those control buttons at the bottom. GarageBand '09 in contrast just wouldn't budge - no panning and certainly just pissed me off when it refused to show me its bottom panel controls despite of how small I made its scale factor.

As I've said, I'm no great musician but I do fiddle with GarageBand once in a while and because I've OCD (or at least, I think I have it), being aware of this little glitch just cannot give me peace. But thankfully (another drum roll please) Zooom comes to the rescue!
image from coderage.com
The app can be downloaded for a 30-day trial period and a license can be had for $19.95 USD.

Zooom is Leopard (10.5) and Snow Leopard (10/6) compatible and is very easy to adapt to. There's even a demo that'll help you get acquainted with the key strokes for moving windows around, resizing windows and maximizing them the unconventional way - that is, in relation to the Mac OS X conventional way of course.

So give it a try or you might even wanna consider shelling out $19.95. I imagine it's gonna be a whole lot useful for those of you who have 1024x600 hackintoshed netbooks so that $20 bucks is money well spent. Hopefully I get back my Mini 311 before the 30-day trial period expires.

P.S. Coderage did not pay nor ask me to promote their app so don't feel all weird reading gooey, cheesy, marketing-like stuff like these on my blog - it's not the first time I did something like this. In fact, I seem to be in the habit of advertising stuff here and there without as much as a dime or cent to my name. Well this whole "HP Mini" mania is evident on this blog anyway hahaha.

Oh and though I do not condone software piracy, if you're on for a little easter-egg-hunting, you can check out my mediafire account for little Zooomy little present. ;) 

23 May 2010

Working With EFI

from rockia.com

To those who've been reading My MacBook Mini for quite some time, you know how I'm crazed up about the EFI boot method. True, there are other boot methods that are available to the OSx86 community and are wonderful projects. One of them is Netbook Installer (NetbookBootMaker) which is a hit among the masses as it's enabled even the totally inexperienced noob to easily create their own Mac Netbooks.

But I still prefer EFI. Why? In essence, its logic is simple : put all necessary files in a single location that is hidden - the 200 MB partition that is created when you partition a hard drive as GUID, default native partition for Snow Leopard installation.

In hackintosh setups of days gone by, the addtional OSx86 stuff are integrated into the Mac OS X file system - you've got occult-sounding non Apple native kexts inside /System/Library/Extensions. Or you have Apple native kexts that are modified and shoved back into that aforementioned location. While that worked, the result is that those modified kexts that originate from Apple native ones and hence carried the same name, would get over-written when a point update is installed on the system. This had been the cause for many broken hackintosh setups after a major OS update.

In time the trend moved on to having an "Extra" folder in / where all additional OSx86 stuff are placed. What happened is that this Extra folder would sometimes get accidentally deleted unwittingly and result to a broken system. Then this Extra would then get to be hidden - a technique that is used up to now by Netbook Installer.

But, someone thought (sorry I don't remember anymore the name) to just put this Extra stuff inside that invisible 200 MB partition which is a very safe location. The EFI partition.

With all the non Apple elements tucked away in the EFI partition, the "Vanilla" system came to be. Essentially, there are no changes done on the main OS X file system. One can, in theory, even just put the hard drive in a real Mac and it would work fine since no foreign kexts are installed in /System/Library/Extensions.

What I personally like about EFI is its transparency: I get to have full control of what gets installed in my system. I've never liked that "ramdisk' creeping up on me like a ghost that's hard to get rid once installed in my hard drive,

Anyway, let's get on to more relevant part.

The EFI partition is a hidden partition and that fact adds to its complexity. It's not as readily accessible as a hidden Extra folder in /. You gotta mount and unmount it when you wanna make changes - a process that noobs don't particularly like and end up whining and forums where they get flamed by the big guys. (Poor noobs - I can relate cause I've gotten my fair share of being flamed and flaming others, the latter I avoid as much as possible).

Setting up an EDI config for the Mini 1000 is already made simple by the installer I created. Run it and voilà! EFI is setup. Now what happens if you wanna do some changes like installing uninstalling kexts?

I know that you'd rather not learn Terminal stuff but I'm not willing to enslave myself by committing to releasing one-click (or several clicks) GUI installers for you each and every time you want to mod EFI. Thus, let me empower you with a tool that I use myself on my Mini 1000:

Update EFI

I did not make this applet. It's not open source but it's free as long as you give praise to Dalton who made it. So there.

Anyway, using the app is fairly simple. Launch it, type your password. It'll mount EFI. Delete or drag-drop kexts inside Extra/Extensions folder inside, it'll rebuild the mkext for you and also unmount EFI.

You have basically 2 options:

  1. Basic Changes - for adding kexts
  2. OS Updates - does what Basic Changes does but also gets the latest graphics kexts (if the update installs newer graphics kexts) and patches them. This is for IntelGMA950 users.

Give it a shot. It's really simple and easy to use that creating a how-to would just vulgar manifest of imbecility,

14 May 2010

Yours truly, smbios.plist

My Mini 311-1002TU is taking a 2-3 week sabbatical (actually I'm risking 4 weeks to a bit more than a month) but obviously I cannot not blog. Like one blogger I really like reading, I blog because I think everyone is entitled to my opinion. I'm talkative that way. Imagine living within 2 meters in proximity of me. Correct, it'll drive you nuts.

So I cannot be stopped writing. Since I can't participate in any testing for the HP Mini MacBook Pro 311 and thus unable to write about that specific netbook, I figured I'll write about something that's generic OSx86. And I definitely think it'll benefit those who've actually turned this personal blog into a Technical Support Page. ;-)

Let's get to one question that was posted on my Cbox (no, I've no intentions of answering if a huawei xxx 3g USB dongle would work in OS X Snow Leo because I don't have that hardware the Huawei E1550 usb dongle modem works as per hyunlee :)); I'm referring rather, to this one:
hyunlee: hi guys, how do i change the serial no.?
The quick answer: Edit your smbios.plist.

Before I spill the beans and tell you which to edit in that file, allow me to share some useful (I hope) knowledge; What is smbios.plist?

Back in my early noob days, the only way I could experience OSx86/hackintosh is via custom distro's like iDeneb, Kalyway, and MSIWindOSX. In short, I had absolutely no idea what went under the hood that enabled mere third world mortal like me to taste the joy that is OS X and the beauty that is Aqua.
To give you a clearer picture of my pre-homo sapiens sapiens days, these are the questions that normally coursed through my mind as I watch my hackintoshed netbooks boot in verbose mode:
"What the bullocks does 'jettisoning kernel linker' mean?"
Not that I now know how jettisoning the kernel linker in OS X 10.5 Leopard really does - I still have absolutely no idea about that - but I've had a handful of epiphany that helps me from posting "stupid questions" being flamed in forums where the big guys are.

One of them is a component called the smbios.plist


 It's not just for editing the Serial No., that bit of information you see when you go check Apple menu > About this Mac > More info...(System Profiler). It's part that and a lot lot more.

Consider this scenario:

While I was still booting iDeneb OS X Leopard on my HP Mini 1001TU, I had to hack my DVDPlayback framework so I could DVDPlayer with an external DVD drive. And then I dutifully bought a legal shrink-wrapped copy of Snow Leopard DVD from PowerMac Center in Greenbelt 3 and upgraded my Mini MacBook following one of the guides I unearthed with patient Googling (you should all try Googling folks, it's an intelligent way to live in the OSx86 community). And what do you know? I fired up DVDPlayer and found out that even without that hack, it launched fine - and even without an external DVD drive! I was absolutely amazed!

A miracle!

No.

It was just that one of the files I downloaded to setup my boot configuration for Snow Leo then included this smbios.plist that contained values that transformed my HP Mini 1001TU into a MacBook Air in the eyes of Snow Leopard.

I had "Remote Disc" automatically displayed in my Finder Sidebar.

The icon for my HP Mini 1001TU was a tiny MacBook Air.

Real MacBook Airs don't have an internal DVD drive so it's natural that OS X should allow DVDPlayer to launch fine without that peripheral. It was all too obvious but I, the unsuspecting noob, didn't notice it of course.

So here's how you edit your smbios.plist to get that Serial No. fixed (EFI boot):
1) First access the EFI partition. This you can do by mounting the EFI partition manually or just use Alter EFI v1.3 > Edit Others
2) Open the file "smbios.plist" (it's located inside Extra folder) with your favorite text editor (mine is TextWrangler) and look for this key/string combination:

CODE: SELECT ALL
<key>SMserial</key>
<string>W88033AKY51</string>
The serial no. goes into the string field. You can go mimic a real existing MacBook Air, or create your own Mac serial.
3) Save your changes.
4) Umount EFI (click "Done" if you're using Alter EFI)
Note that the changes you made are applied after a reboot.

10 May 2010

Bricked


I am but a mere noob. Actually a stupid, impulsive noob. Bummer...
And it's only been 4 1/2 months since I bought my Mini 311. Bummer...
I still have 8 months from the monthly installment pay plan. Bummer...

If you're running OS X Snow Leopard on your Mini 311 with Atom N280, 2 GB DDR RAM and you've successfully overclocked it to 2.0 GHz, but you're stuck during boot up at NVEthernet : Ethernet address xx:xx:xx:xx:xx blah blah, though it's not written in gold-gilded letters in your Mini 311's screen, you should know it means STOP right there. Don't attempt 2.3 GHz in attempts to workaround that hang up just because it's listed in some forum post.

Now what to do with my poor Mini 311?

Err, make that what to do with poor me who doesn't know where to go now that she's without her beloved Mini MacBook Pro??

09 May 2010

Snow Leopard 10.6.3 on the HP Mini 1000

UPDATE (09/03/2010): There were still issues with 10.6.3 and I never go to sort them out. Now, I no longer have my HP Mini 1000 with me. My recommendation is to stick with 10.6.2 at the highest version with this guide for best results.

I admit that I've been neglecting the HP Mini 1000, my very first MacBook Mini. It was borked out for a period of time and was just recently resurrected from the land of the dead. But I still haven't played with it for quite a while - never had the patience to figure why it wouldn't sleep in 10.6.3.

Good thing a forumer named lollipop from the myhpmini.com Mac OS X forums has been keeping the "project" alive (I'm now used to calling Mac OS X efforts on specific netbook builds as "projects" because of the HP Mni 311 Darwin Project). It'a very good guide for updating to 10.6.3 but we can take it another route; EFI Boot.

To understand why the obsession with EFI boot method, click here; also aside from being EFI, with this guide, we won't be using any modified/hacked mach_kernel as we're gonna use a version of Chameleon bootloader that auto-patches the kernel for us on the fly during boot up.

This means we can get our Mini 1000's Atom processor pass of as valid Mac Intel procies for use with Mac OS X and avoid the dreaded "boot loop" while using original mach_kernel - one less thing to worry about in future updates.

So without further ado, here's Snow Leopard 10.6.3 on the HP Mini 1000 à la LeMaurien19 :D

What You Need:
1. USB flashdrive or external hard drive - at least 8GB
2, .Snow Leopard Retail DVD (dmg or .iso or .cdr)
3. A working Mac or hackintosh
4. NetbookBootMaker 0.8.3 (we're still using v0.8.3 because 0.8.4 is still in Release Candidate version)
5. MacOSX10.6.2ComboUpdt.dmg (we're NOT using the v1.1 update as that version may cause WiFi probs more this only refers to connection quality issues, if your Mini does not have a Snow Leo compatible card, this unrelated to that) *Apparently, 10.6.3 Combo Update which is not v1.1 is no longer available, please update to 10.6.2 first and then update again to 10.6.3 again later if you insist on getting the non v1.1 10.6.3 update
6. HP Mini 1000 EFI Auto Setup for 10.6.3 (HP Mini 1000 EFI Auto Setup for 10.6.3 is compatible with 10.6.2)

What To Do:
A. Create your bootable USB installer:
  1. With your USB drive plugged in and a copy of an image of Snow Leo Retail DVD handy, launch Disk Utility which can be found in Applications > Utilities.
  2. Click on USB drive from the list at the left panel and format it as "Mac OS Extended Journaled". You can name it anything you want but for this guide, we're gonna name it "SnowDVD"
  3. Click on the "Restore" tab. You should see 2 fields on that tab's panel: "Source" and "Destination". Drag the "SnowDVD" volume you just formatted and drop it to "Destination" box. Drag the "Snow Leopard Retail DVD" to "Source" box.  (If the Snow Leopard Retail DVD image is not listed at the left panel of Disk Utility, simply drag it to that panel)
  4. Uncheck option "Erase destination" (so as not to overwrite name "SnowDVD" for the USB) and then click on Restore button. If Disk Utility gives an error message, it's most likely that the Snow Leopard Retail DVD image has not been scanned for restore.  You scan the image by high-lighting the image from the left panel list, then on Disk Utility's menubar, click on Images > Scan Image for Restore... 
  5. Once Snow Leo Retail DVD has been restored onto the USB drive, launch NetbookBootMaker and apply it to "SnowDVD" volume.                                                                     We're almost done but we have to do one thing more to make the installation process smooth.
  6. Press Command+Shift+G and go to location "/Volumes/SnowDVD/System/Installation/Packages". Delete "OSInstall.pkg" and rename "OSInstall.pkg.orig" into "OSInstall.pkg" - just delete the ".orig" portion of the filename. You now have a bootable USB installer.
B. Install Snow Leopard on the HP Mini 1000
  1. With the bootable USB Installer plugged into one of the USB ports, turn on the HP Mini 1000 and press on F9 to get to the boot menu.
  2. Choose your USB device from the list and press Enter.
  3. You will get to the Mac OS X Installer program; after choosing your language, go to the menubar and click on Utilities > Disk Utility
  4. Look at the left panel and click once on your Mini 1000's internal hard disk to highlight it. And then, at the right panel, click on Partition. You should click once on the main topmost drive icon for this to work, and not on any sub volume/partition.                 
  5. For "Volume Scheme" choose "1 partition". For "Volume Information", name it "Macintosh HD" (like in real Macs :D). For "Format" choose "Mac OS Extended Journaled".
  6. Click on "Options..." button below Volume Scheme block and in the dialog sheet that will appear, choose "GUID partition table". Click on OK.
  7. Back at the main Disk Utility window, click on "Apply" button at the bottom to format your hard drive, ready for Snow Leopard. 
  8. Once done, quit Disk Utility.app and proceed to Snow Leopard installation. Choose your newly formatted "Macintosh HD" as installation drive. You can also customize which packages get to be installed by clicking on the "Customize" button. At this point, you know what to do. :D
  9. The entire installation will take quite a while - take a walk, watch TV, get some coffee - you can leave your machine while it installs OS X but remember to have it plugged to electric source to avoid battery draining out before the install finishes. Also at the end of installation, you'll get an "Installation Failed" error message. This is normal, it just means the hard drive is not bootable - yet well get to that later. But Snow Leopard is indeed installed on your hard drive, don't worry, so just ignore the error message and restart your machine.
C. Initial Boot, Updating to 10.6.3 and EFI Setup
  1. With your bootable USB installer still plugged in, turn the HP Mini 1000 and press F9 choose the USB from the boot devices list and press Enter to boot from it.
  2. Press any key before "SnowDVD" gets automatically booted up. You'll notice that a "Macintosh HD" has been added as bootable volumes. Use arrow key to highlight "Macintosh HD" and press Enter to boot it up.
  3. You'll get into the Mac OS X setup assistant page. Create your User Account as you would on any Mac. At some point, you maybe asked to setup your network, just click on "My computer uses different setting/connects differently" and choose "My computer does not connect to the internet" in the meanwhile. You can configure your network later.
  4. Once logged in at the desktop, run the MacOSX10.6.3ComboUpdate installer. You will prompted to restart but DO NOT RESTART YET.
  5. Run the HP Mini 1000 EFI Auto Setup for 10.6.3. After that's done, you may now restart your machine.
Congratulations on your new Mini MacBook Air (I had the smbios.plist make your Mini 1000 disguise as a MacBook Air 2,1).

If you get a kernel panic after restarting from C.5, just shutdown your machine and restart again.

What you may notice that the machine may not be able to restart after C.5 when you click on shutdown or restart option. Don't worry, this is fixable. 

Download UpdateEFI v1.3 and click on "Basic Changes". Open a Finder window and click on the "EFI" disk at the sidebar, digg through the folders until you reach /Volumes/EFI/Extra/Extensions. The kexts responsible for shutdown/restart/reboot functionality are:
  1. OSXRestart.kext
  2. EvoReboot.kext
  3. OpenHaltRestart.kext
You can experiment with a combination of these kexts or just replace OSXRestart and EvoReboot with OpenHaltRestart. Click on Finish button on UpdateEFI to update the contents of the EFI partition.

Actually, shutdown/restart is something that is known to be an issue for the HP Mini 1000 since before 10.6.3. What's most important is that there's now finally a resolution to sleep and speedstep after sleep issues.


Will update this post once I figure out the shutdown/restart.


Shutdown/Restart is working fine.

04 May 2010

Not Quite There Yet

iconspedia,com
Staying up to date has always been part of this game we call technology. Somebody releases something new and we just find ourselves itching to be able to see that ".x" displayed when we look at detailed information on an a piece of software.

It's a perpetual chase that proves to be problematic already in normal circumstances.

Same holds true and even more complex in out of the normal circumstances like ours - hackintoshes.

Ok, so much for waxing poetic and straight on to the point: 10.6.3 on the HP Mini 311 is not quite there yet. True, it can be installed and non of the main functionalities are broken - we still have Quartz Extreme, audio, ethernet, bluetooth, etc. It's quite a perfect Mini MacBook Pro 5,1 (that's what I prefer to disguise my HP Mini 311-1002TU as nowadays).

Until you put the machine to sleep.

On my current setup with Snow Leo 10.6.3 and with this config (Vanilla AppleIntelCPUPowerManagement):
EFI:
- AppleACPIBatteryManager
- AppleACPIPS2Nub
- ApplePS2Controller
- CPUIDOverride
- CPUIDSymbols
- CPUInjector
- fakesmc

/System/Library/Extensions:
- VoodooHDA

No matter whether it's verbose or non verbose boot mode; or hibernatemode 0 or 3, I've kernel panics creeping up on me once I wake the system up. The KP's are cause by PS2 controllers which I could easily dismiss as "just as expected" since the Mini 311's ApplePS2 kexts are buggy causing kernel_task bloats. However, there's something else that renders the situation a little too disturbing to be chalked up to "hey, it's a hackintosh, what did you expect?" argument.

The webcam does NOT work in non verbose after wake from sleep. 

Does it work in verbose mode? Yes, webcam works after wake from sleep if one boots verbose mode.

But then, looking at console messages to observe wake from sleep patterns (for both verbose and non-verbose boot) under 10.6.3 and comparing them to those of under 10.6.2 have revealed an ugly side to 10.6.3:

USB management is crippled.


Observe "USB (OHCI)" from 10.6.2 that does not appear in 10.6.3 and HP webcam-50 being disconnected in 0.6.3 which does not happen in 10.6.2.