It's been exactly 16 days since that fateful night that my Mini 311 got bricked. And that's also how long I've been living with my Mini 1001TU for survival. Imagine how pitiful I could've been without a laptop of my own!
Ok, the HP Mini 311 is still a netbook technically and so is the Mini 1001TU. But the last "real" laptop I had was an 12" IBM Thinkpad A21e:


The point is, judging from my computing habits and from my portable computer history, my requirements are pretty basic. In fact, my EeePC 701 which now belongs to my cousin, with its 900MHz CPU can still fill my plate quite adequately in terms of performance. I can hardly imagine why 900MHz would choke up on blogger.com anyway. In fact, if not for the agonizingly minuscule screen and keyboard of that very first netbook, we would still be together now. Since then I've progressed gradually to an 8.9 incher in the form of the EeePC 900, next to 10 inchers like the MSI Wind and then HP Mini 1001TU. My first HP Mini hit the sweet spot for me in terms of keyboard typing experience but I still got the Mini 311 for the larger screen mainly - Ion and Atom N280 were merely icing on top of the cake.
A large keyboard and a comfortable 11.6" LCD screen with 1366x768 resolution in a package less than 1.5 kg spell nirvana for me.
Thinking back to the days gone by with the Thinkpad A21e and comparing the experience with my 10" netbooks, I've come to realize that it's actually the vertical screen real estate that breaks and makes the deal for me; I was content with the A21e because it had 768 vertical pixels. 1024 pixels horizontal is fine by me but not that "600" part of the equation. Sends shivers up my spine.
And then I am suddenly forced to go back to the quagmires of 1024x600.
On to the meatier OSx86 related stuff. It turns out I'm not the only one who's unhappy with the 600 vertical pixels - Mac OS X doesn't really dig that resolution config as proven by windows cutting past below the dock (already set to auto hide, mind you). And one particular app that just stands out in its obvious disgust of that shortage in vertical pixel real estate is (drum roll please):
 I posted about this problem before and in the end, was just resigned to reverting to GarageBand '08 which though still didn't quite dig the 600 vertical pixels, allowed me to move its window around the screen, similar to "panning" movement and thus gain access to those control buttons at the bottom. GarageBand '09 in contrast just wouldn't budge - no panning and certainly just pissed me off when it refused to show me its bottom panel controls despite of how small I made its scale factor.
As I've said, I'm no great musician but I do fiddle with GarageBand once in a while and because I've OCD (or at least, I think I have it), being aware of this little glitch just cannot give me peace. But thankfully (another drum roll please) Zooom comes to the rescue!

Ok, the HP Mini 311 is still a netbook technically and so is the Mini 1001TU. But the last "real" laptop I had was an 12" IBM Thinkpad A21e:

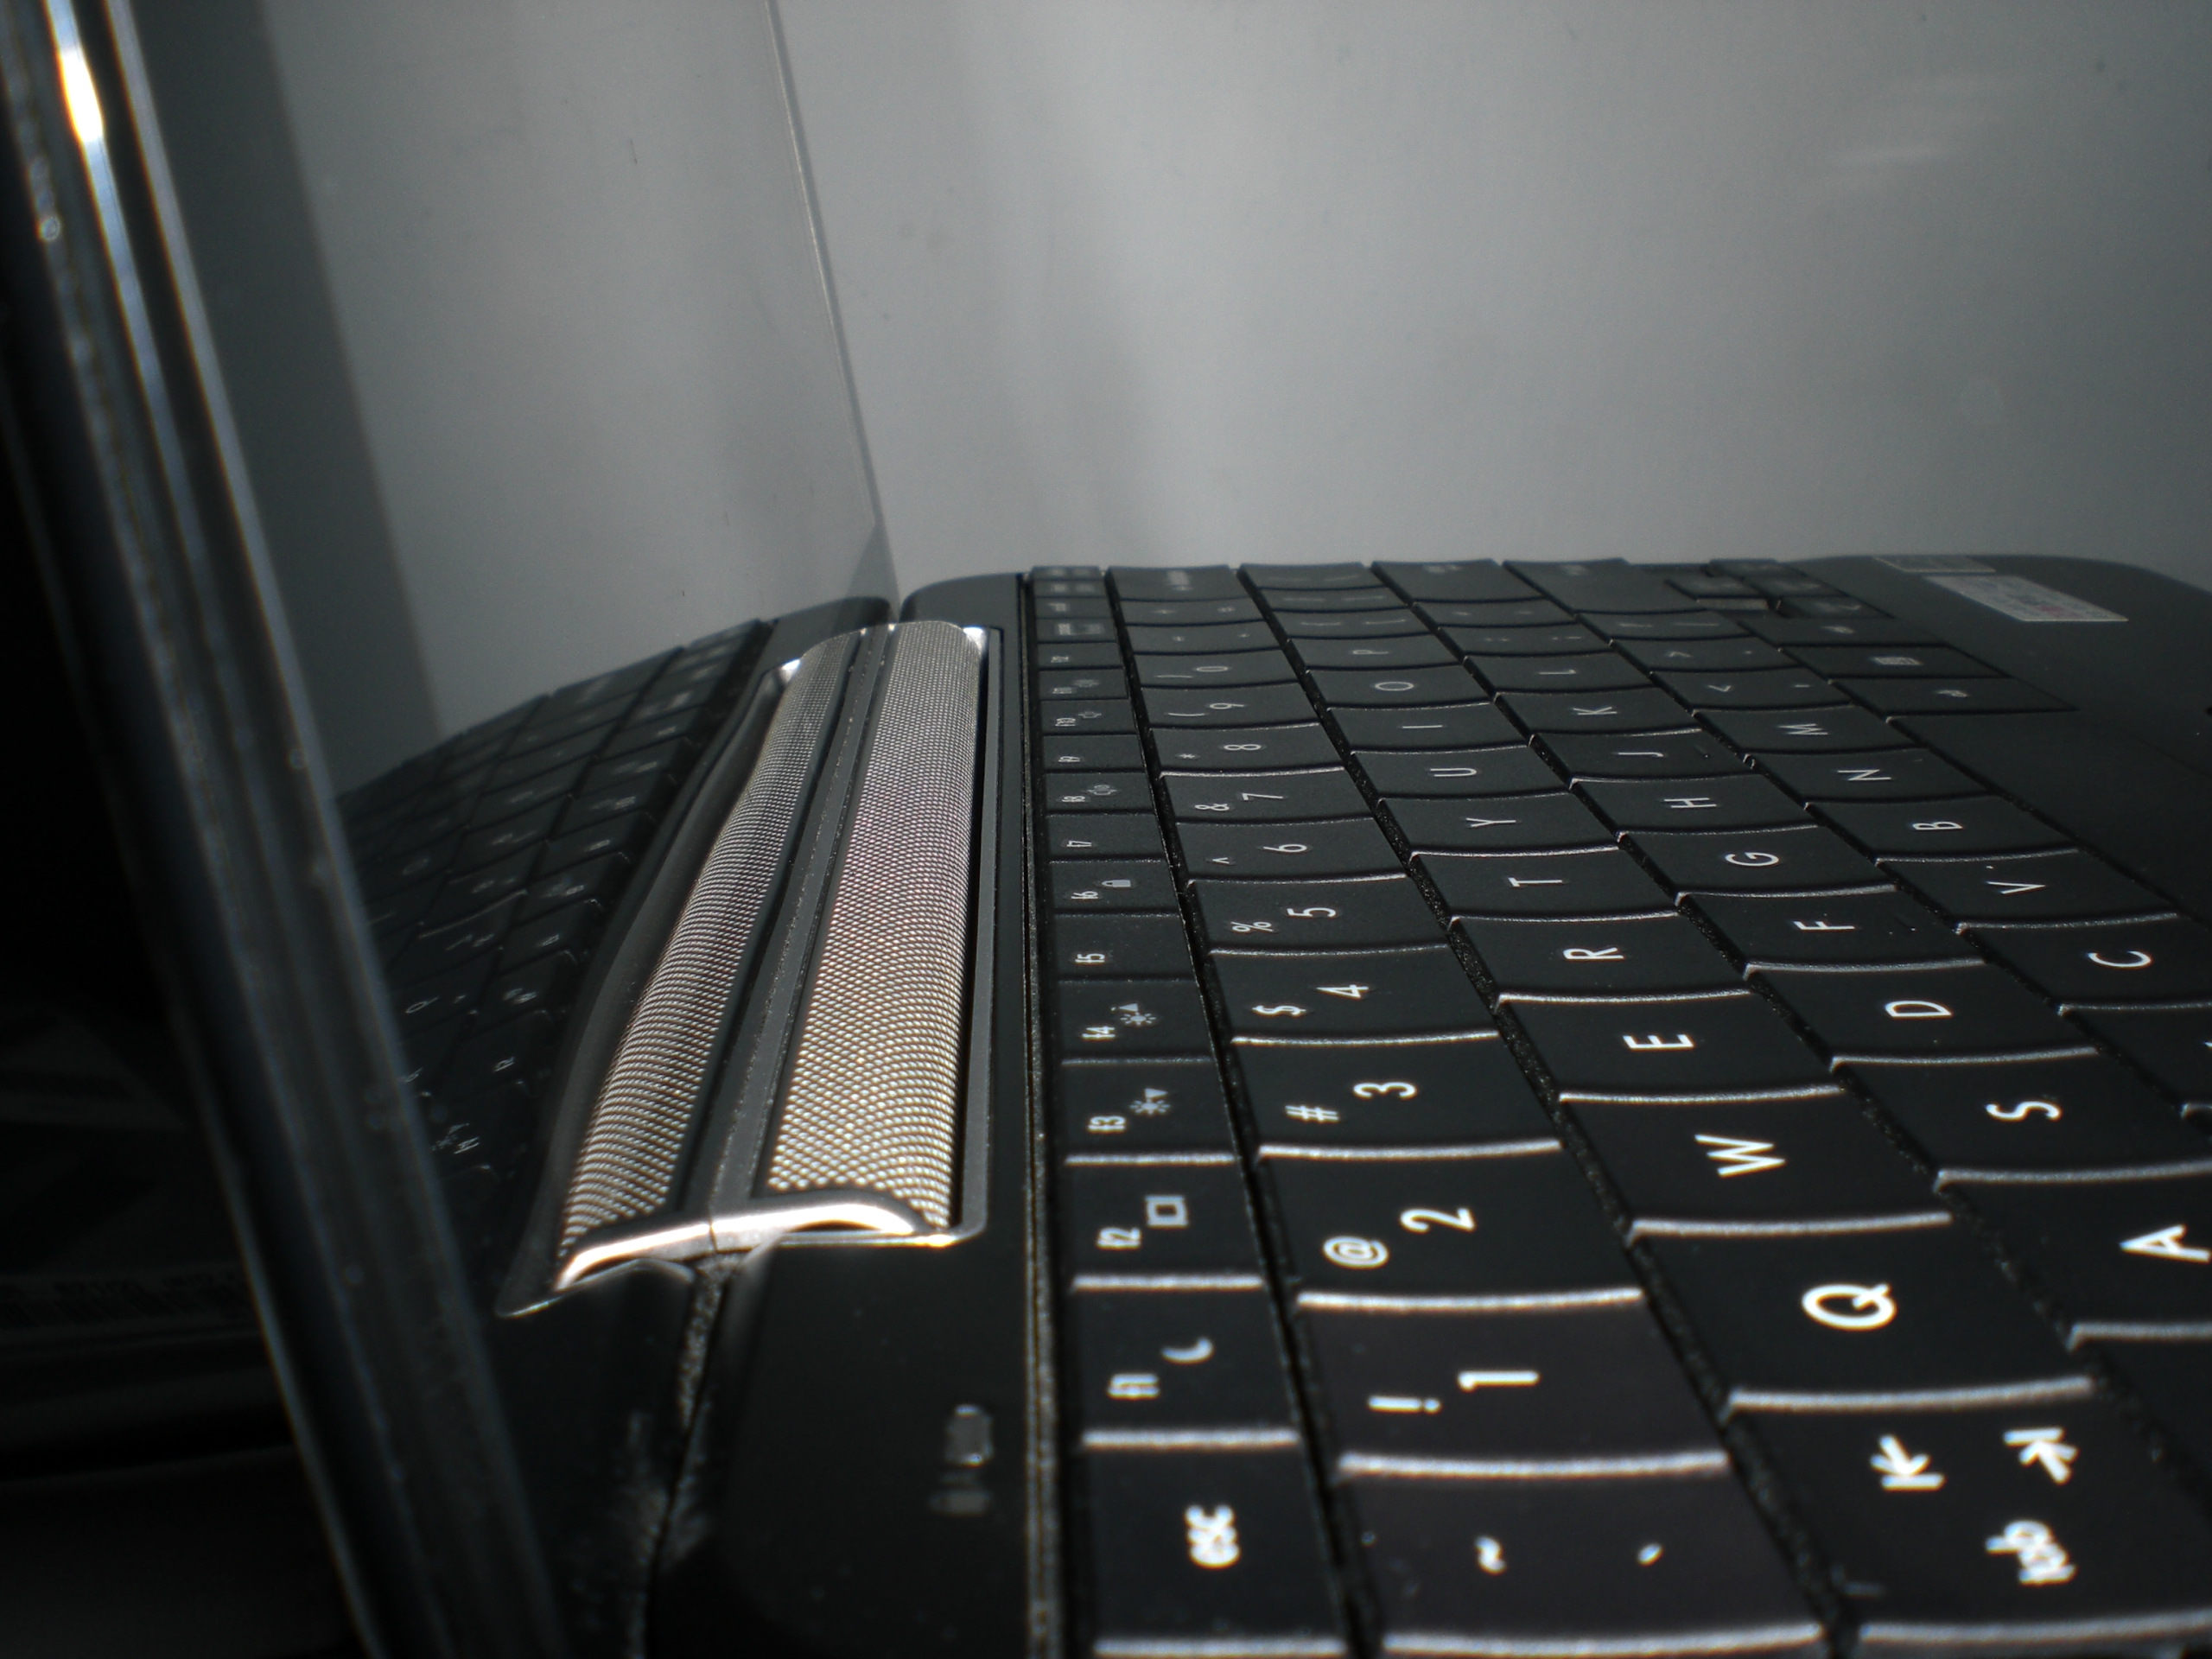
Obviously, the image above is not an actual picture of the machine I owned (credits to netlabs.net). True, I was madly in love with that Thinkpad as it was the first laptop I bought with my own money (about the same amount I paid for my MSI Wind back then) but its charms weren't quite enough to send me into shutterbug fits like my dear netbooks did. Actually, the habit started with the Mini 1001TU which remains a gorgeous piece of gadgetry to this day in my own opinion.
And by the way, my A21e had a 700MHz Celeron CPU, 12" LCD screen, 20 GB hard drive, and 256MB SD-RAM.
The point is, judging from my computing habits and from my portable computer history, my requirements are pretty basic. In fact, my EeePC 701 which now belongs to my cousin, with its 900MHz CPU can still fill my plate quite adequately in terms of performance. I can hardly imagine why 900MHz would choke up on blogger.com anyway. In fact, if not for the agonizingly minuscule screen and keyboard of that very first netbook, we would still be together now. Since then I've progressed gradually to an 8.9 incher in the form of the EeePC 900, next to 10 inchers like the MSI Wind and then HP Mini 1001TU. My first HP Mini hit the sweet spot for me in terms of keyboard typing experience but I still got the Mini 311 for the larger screen mainly - Ion and Atom N280 were merely icing on top of the cake.
A large keyboard and a comfortable 11.6" LCD screen with 1366x768 resolution in a package less than 1.5 kg spell nirvana for me.
Thinking back to the days gone by with the Thinkpad A21e and comparing the experience with my 10" netbooks, I've come to realize that it's actually the vertical screen real estate that breaks and makes the deal for me; I was content with the A21e because it had 768 vertical pixels. 1024 pixels horizontal is fine by me but not that "600" part of the equation. Sends shivers up my spine.
And then I am suddenly forced to go back to the quagmires of 1024x600.
On to the meatier OSx86 related stuff. It turns out I'm not the only one who's unhappy with the 600 vertical pixels - Mac OS X doesn't really dig that resolution config as proven by windows cutting past below the dock (already set to auto hide, mind you). And one particular app that just stands out in its obvious disgust of that shortage in vertical pixel real estate is (drum roll please):
GarageBand '09

As I've said, I'm no great musician but I do fiddle with GarageBand once in a while and because I've OCD (or at least, I think I have it), being aware of this little glitch just cannot give me peace. But thankfully (another drum roll please) Zooom comes to the rescue!

image from coderage.com
The app can be downloaded for a 30-day trial period and a license can be had for $19.95 USD.
Zooom is Leopard (10.5) and Snow Leopard (10/6) compatible and is very easy to adapt to. There's even a demo that'll help you get acquainted with the key strokes for moving windows around, resizing windows and maximizing them the unconventional way - that is, in relation to the Mac OS X conventional way of course.
So give it a try or you might even wanna consider shelling out $19.95. I imagine it's gonna be a whole lot useful for those of you who have 1024x600 hackintoshed netbooks so that $20 bucks is money well spent. Hopefully I get back my Mini 311 before the 30-day trial period expires.
P.S. Coderage did not pay nor ask me to promote their app so don't feel all weird reading gooey, cheesy, marketing-like stuff like these on my blog - it's not the first time I did something like this. In fact, I seem to be in the habit of advertising stuff here and there without as much as a dime or cent to my name. Well this whole "HP Mini" mania is evident on this blog anyway hahaha.
Oh and though I do not condone software piracy, if you're on for a little easter-egg-hunting, you can check out my mediafire account for little Zooomy little present. ;)


